
Table of Contents
You might wonder if it is possible to integrate with FluentCRM and manage those users and run automation, email campaigns, email sequences, etc. Below you will see 2 examples of subscription forms that can connect with FluentCRM.
One of the best features of FluentCRM is that it has native integration with Fluent Forms which is also a popular Subscriptions and Payment Form Plugin for WordPress. FluentCRM uses this plugin to handle the default subscriptions of Contacts in FluentCRM.
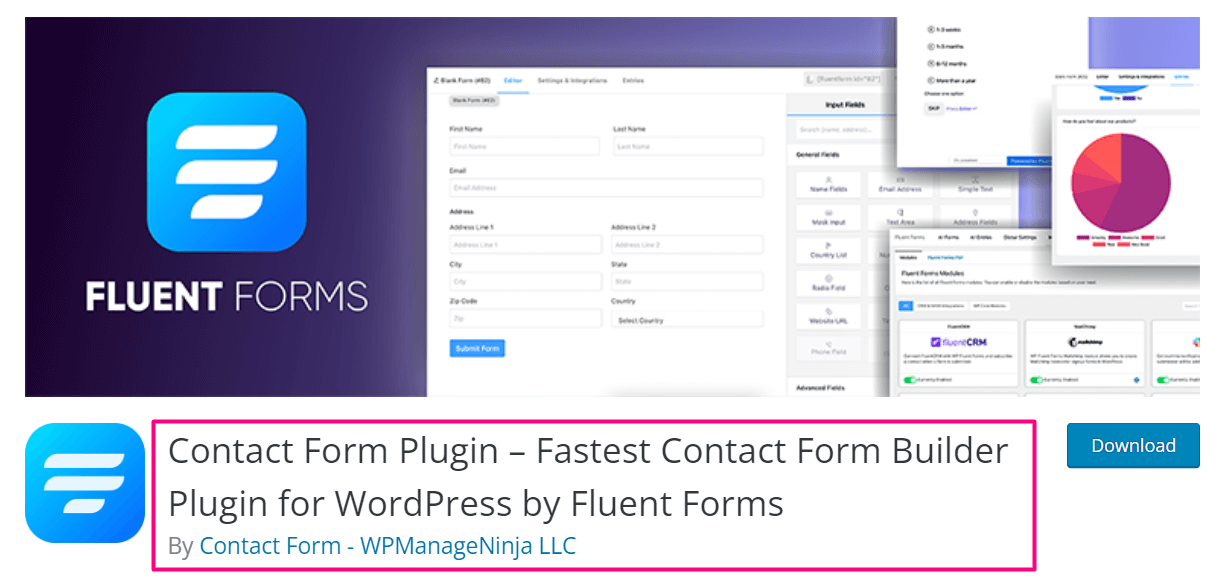
The good news is you can customize the Subscriptions as you want in Fluent Forms and connect the form with FluentCRM. If you want to add more people to your marketing campaign, you can create a landing page including a form. Your audience can fill up the form and they will get a double opt-in email and register as a contact for your email marketing campaigns.
Activating Fluent Forms
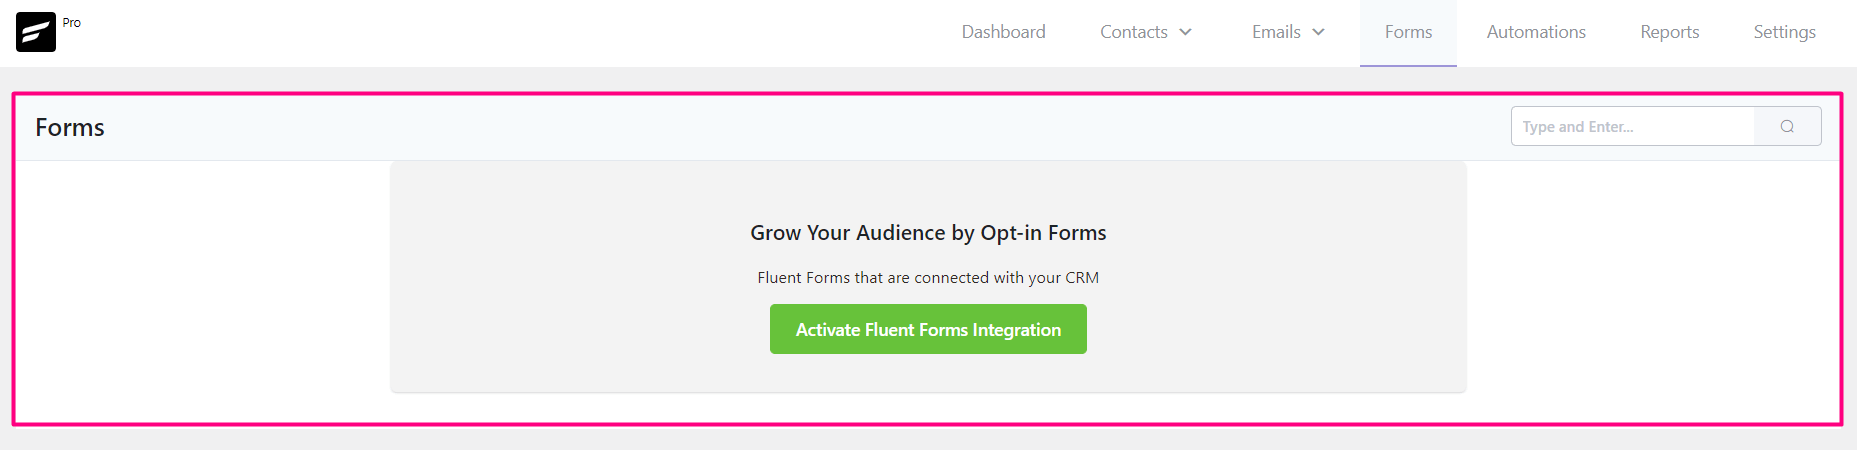
To get started with Subscription Forms in FluentCRM, go to the FluentCRM Dashboard ➜ Forms, Click on the Activate Fluent Forms Integration button, and wait for the confirmation. This will install the Fluent Forms plugin in the background.
Create Subscription Form
Once the plugin is installed, you will see a success message on the top right corner of the dashboard as shown in the below screenshot.
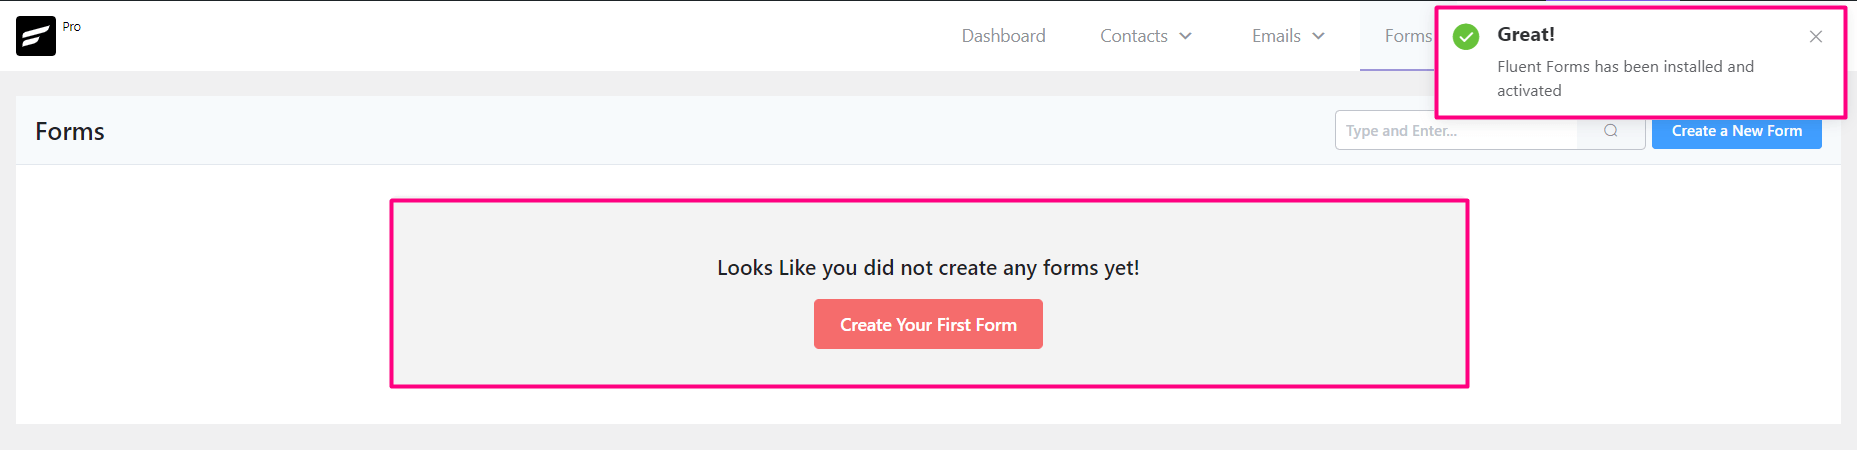
Now you can create your first subscription form by clicking on the red button saying Create Your First Form or the blue Create a New Form button. A popup will appear, and you will see a list of templates ready for you, pick any template you wish.
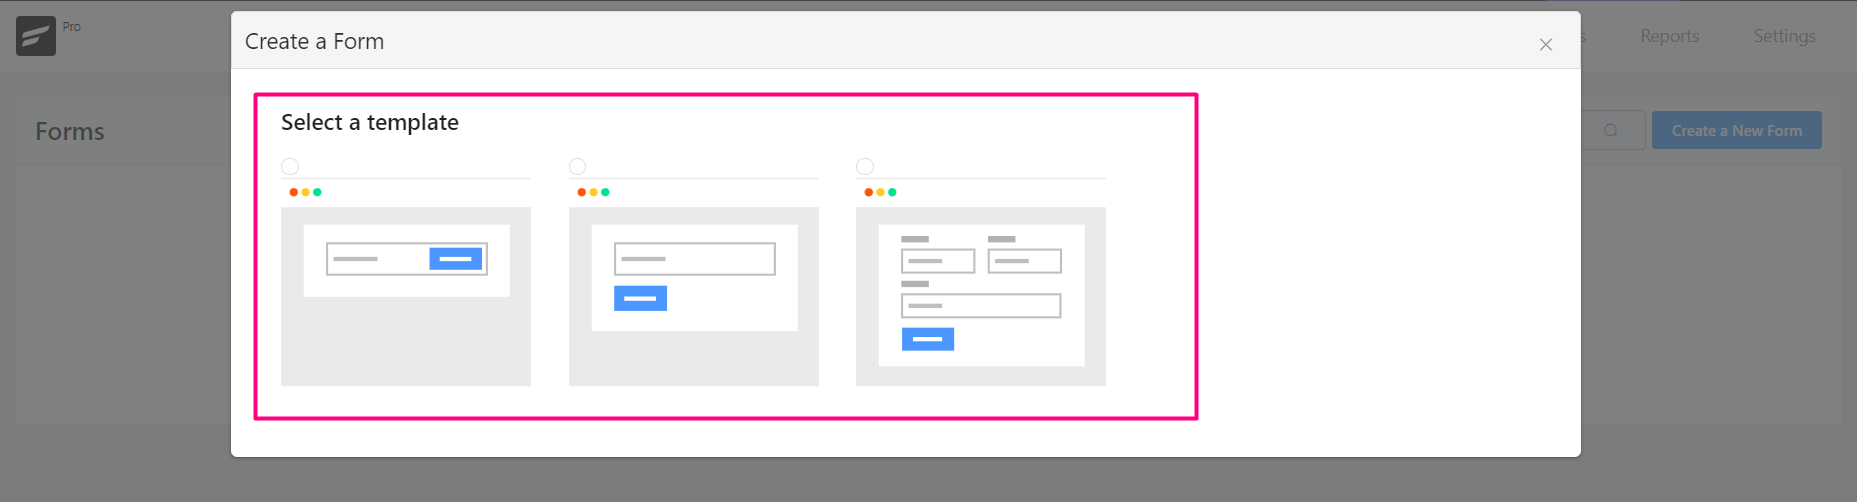
Templates
The templates offered while creating the form look like below:

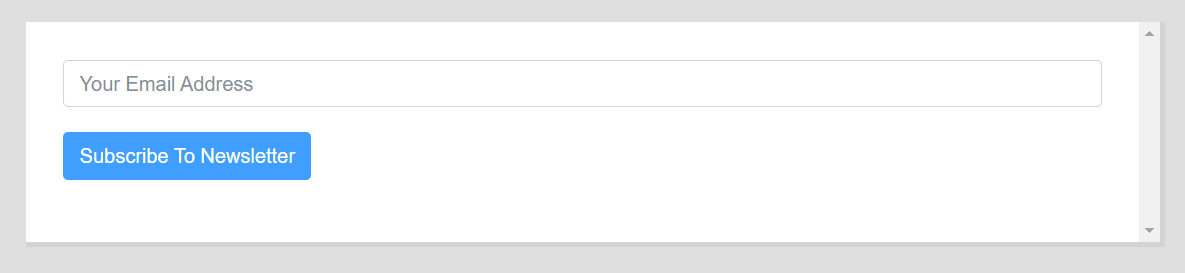
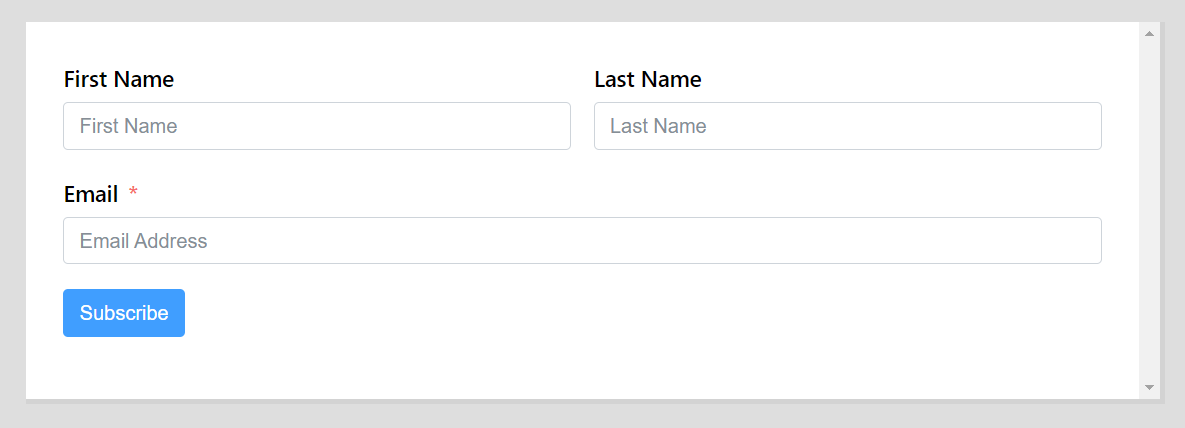
You might want to use the 3rd template as it is a regular and common use case for subscription forms that include both Name & Email.
Mapping List & Tags
Now it’s time to fill in the Form Title, Select the List and Tags you want to map with FluentCRM. It is required to create the List and tags before creating the form. Check the checkbox Enable Double Opt-in Confirmation for new contacts so that FluentCRM will send a double opt-in email to the user as soon as the form is submitted to confirm their subscription. Now click on the Create Form button.
You will also see a message saying “This form will be created in Fluent Forms and you can customize it anytime” which means the form is customizable and you can design and configure settings later at any time. We made a dedicated guide on that in Fluent Forms Advanced Configuration
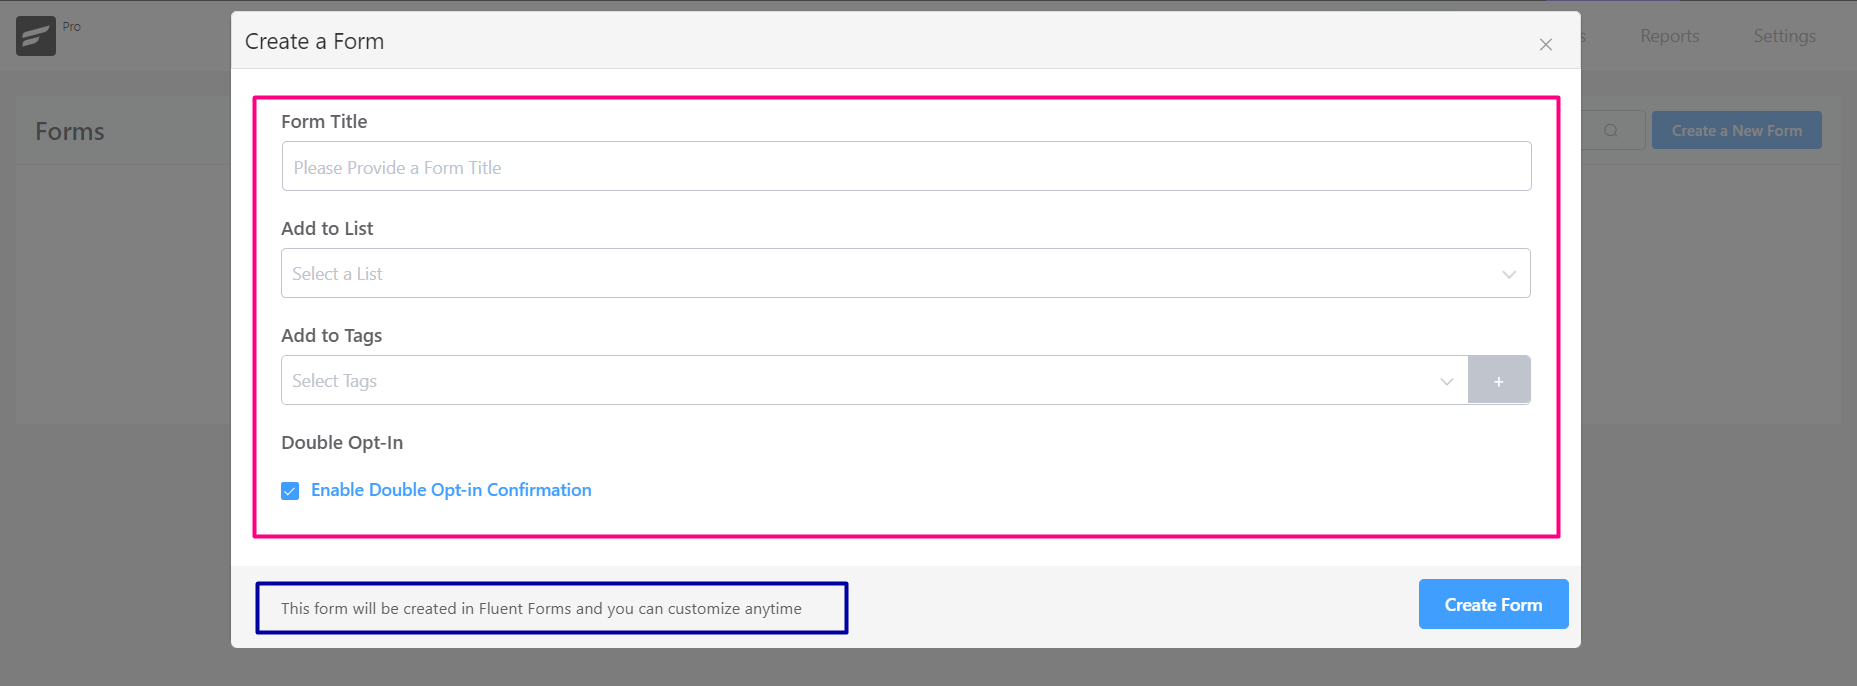
The form will be created with an active feed with FluentCRM, all the submitted entries will be added to your assigned Lists and Tags.
Form Actions
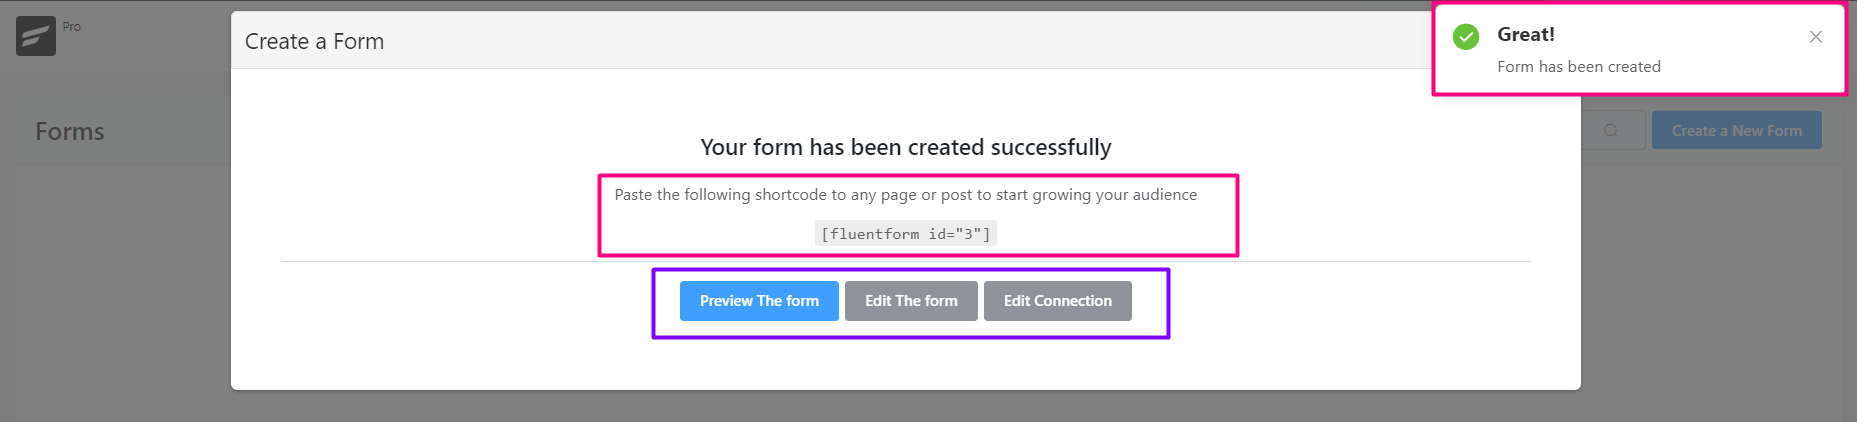
Once the form is created you will a success message on the top right corner of the dashboard. Now you can Preview the Form, Edit the Form and also Edit the Connection with FluentCRM feed by clicking on each link.
Preview
When the form is created you will be provided with a shortcode of Fluent Forms to use the form on any Page or Post. To Preview the Form how it looks like click on the Preview The Form Button.
Edit Form
You can also Edit the Form Fields, and add more fields from various types of fields. This will take you to the Fluent Forms Editor directly.
Edit Connection
This is the FluentCRM Feed Integration settings that connect the Fluent Form with FluentCRM. More about this is discussed in Fluent Forms Advanced Configuration.
If you close the popup window, you can anytime do these actions from the Forms Dashboard as shown in the below screenshot.
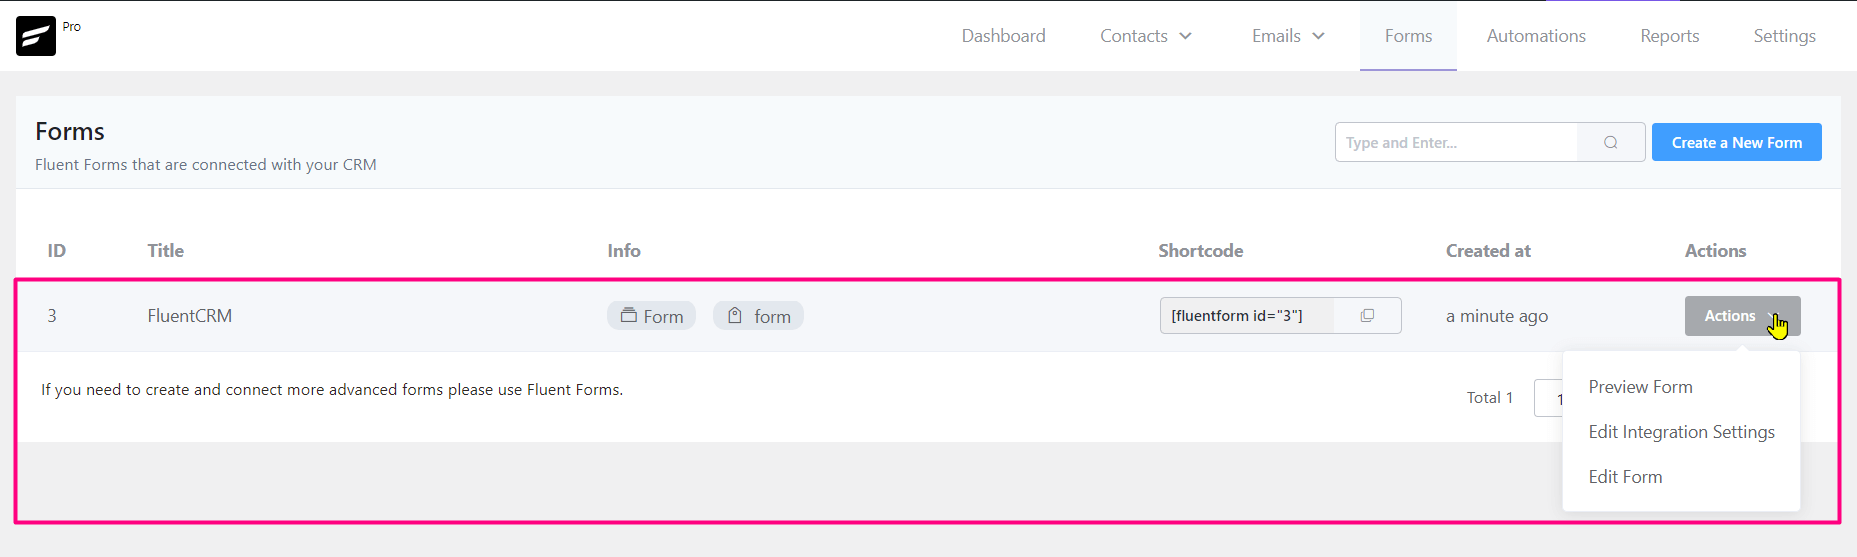
Actions from Fluent Forms
The above options are the exact same from the Fluent Forms dashboard as below:
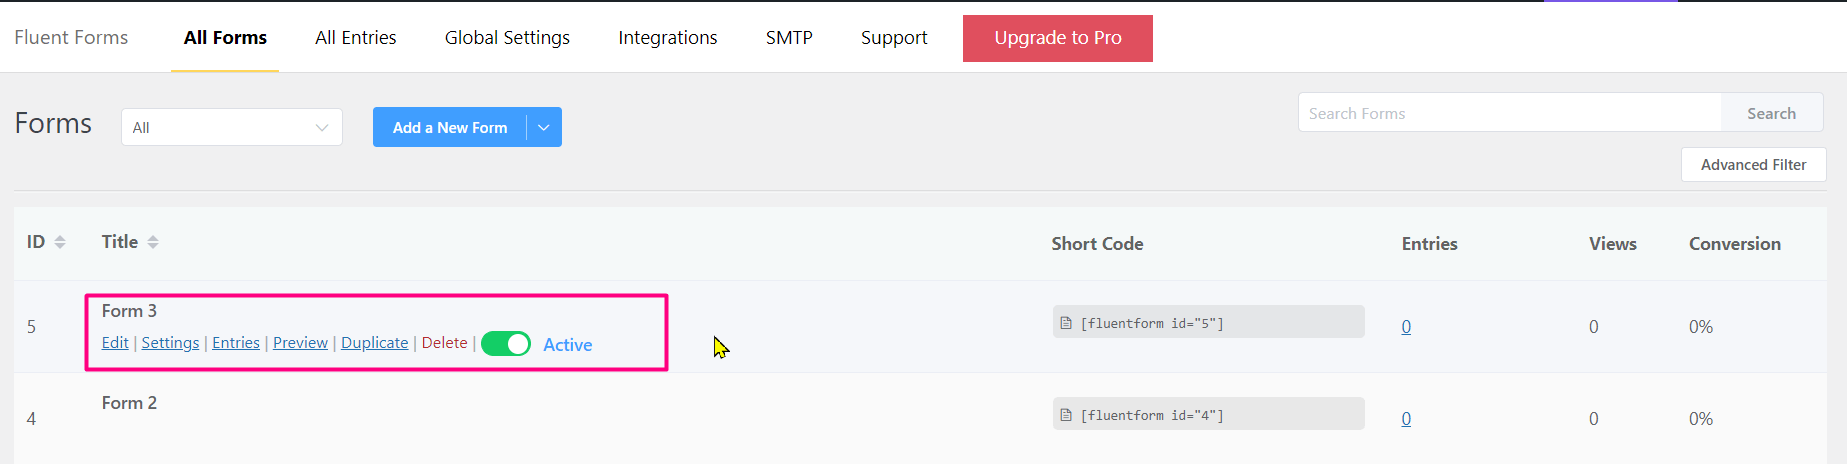
Form Submission
Now it is time to add the form to a Page or Post and then test the submission.
Embedding Subscription Form
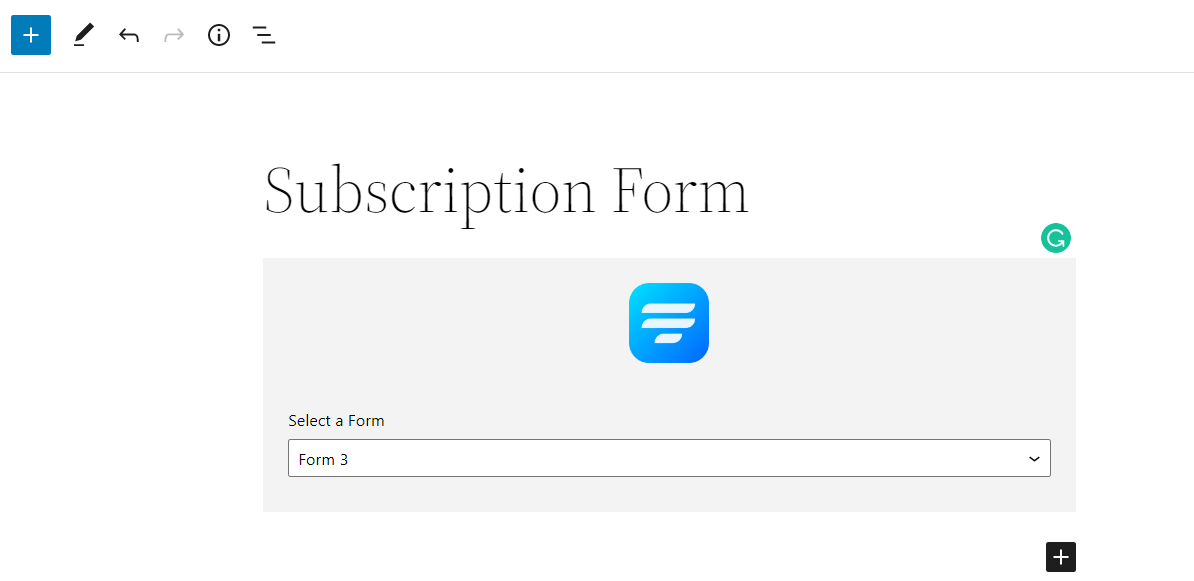
To use the form we need to use the shortcode or even a Gutenberg Editor Block that will let us select the Fluent Form on any page or post. In this tutorial we will be adding the form on a new page as below:
After publishing the page with the form only we will see a page similar to the screenshot below:
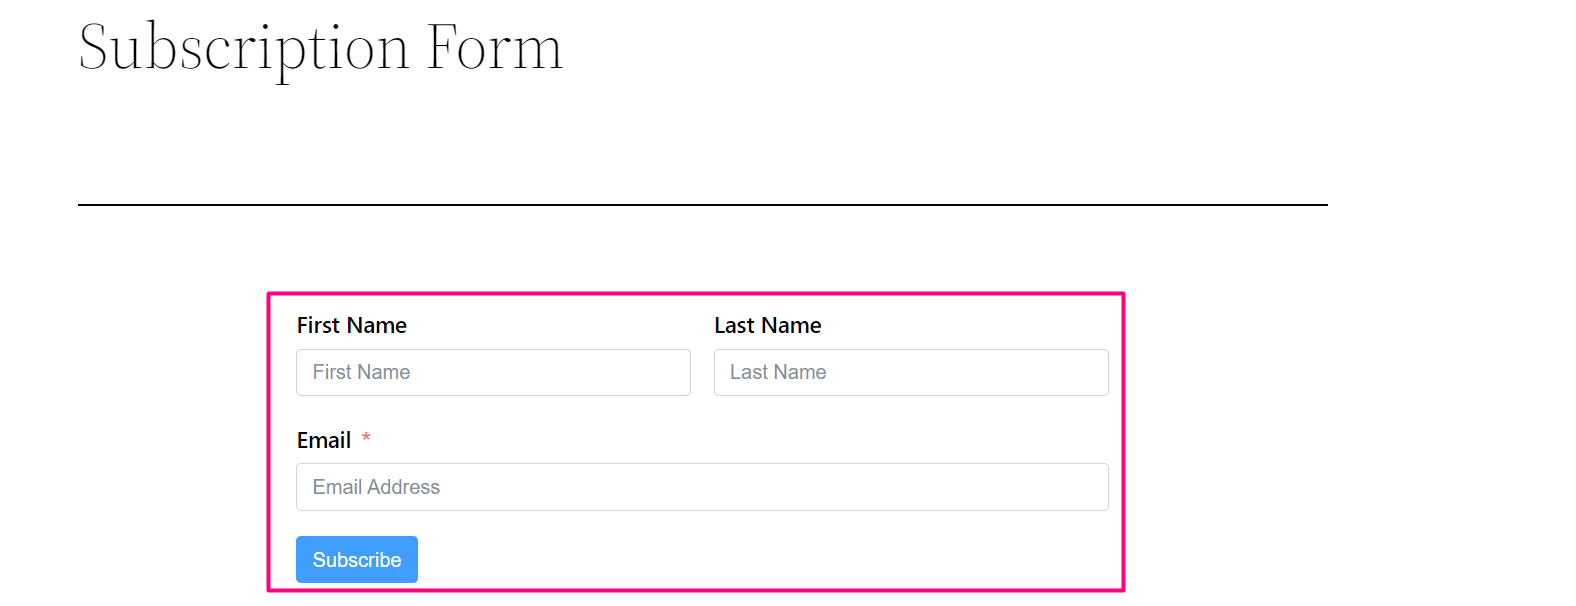
We could also create a page and add the form’s shortcode to the page in a paragraph or shortcode block, or use the shortcode in the sidebar widget or within a post.
Entry in Fluent Forms
Now let’s test our form by submitting a test name and an email address and then Go to Fluent Forms > either All entries or the Form specific Entries and check the entry that is submitted.
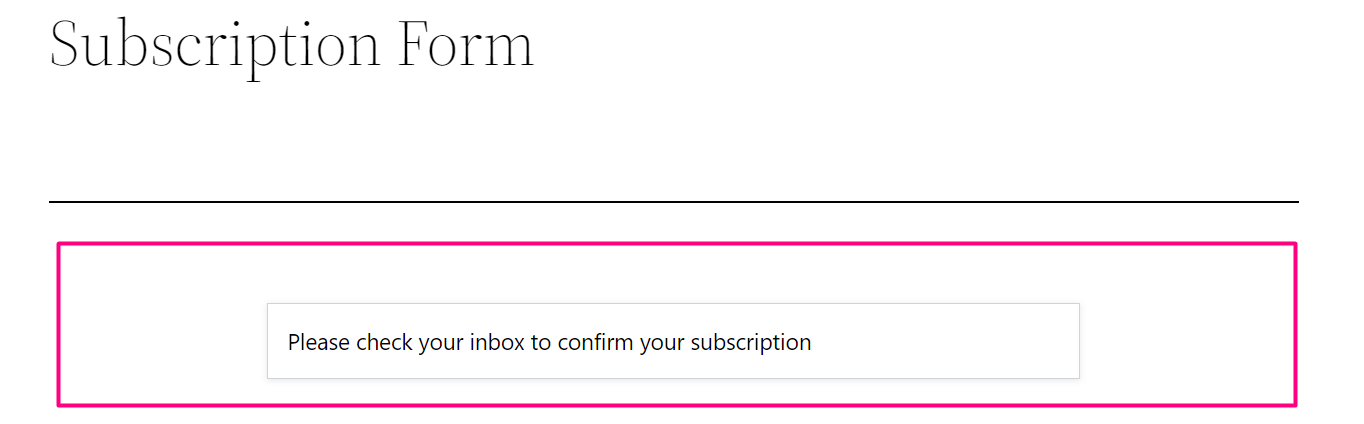
After submitting the form with test details check the entry in the Fluent Forms dashboard. You will see the entry details as shown below:
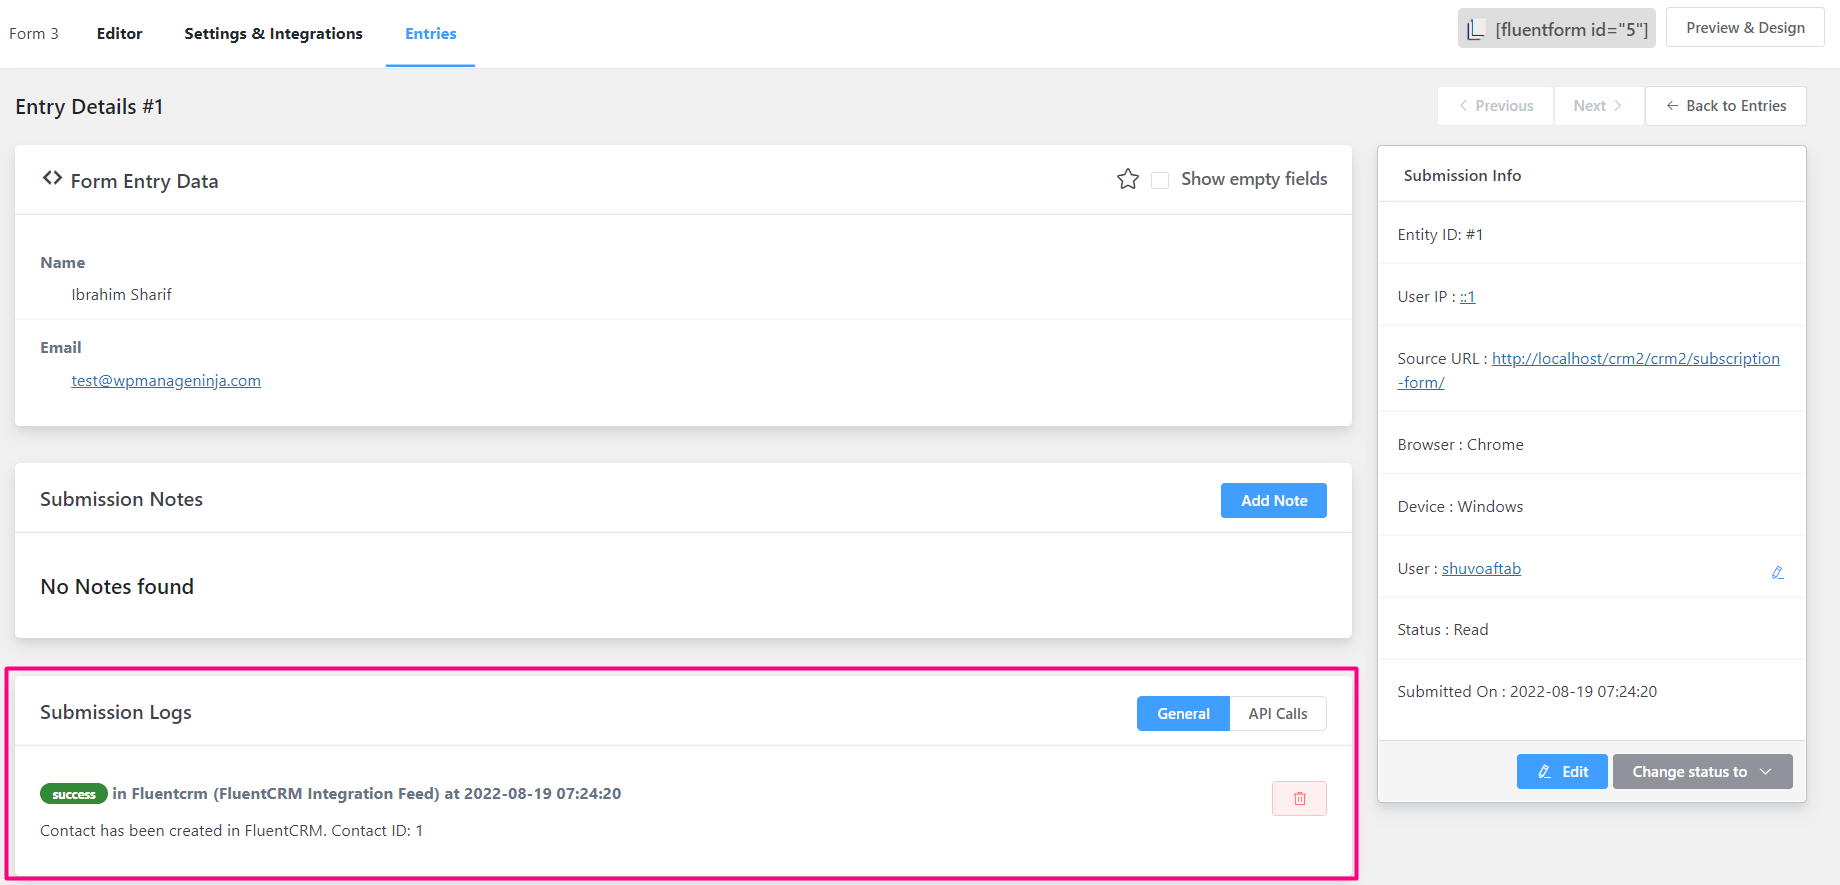
Feed Status
Important: The Submission Logs section is very important working with any feeds like FluentCRM in this case. If you ever see any unwanted behavior or the form does not submit the contact to FluentCRM, please check the entry if it is submitted and then this section to check if it shows a success message or not. It will also log the reason if it fails to submit the contact into FluentCRM.
Contact in FluentCRM
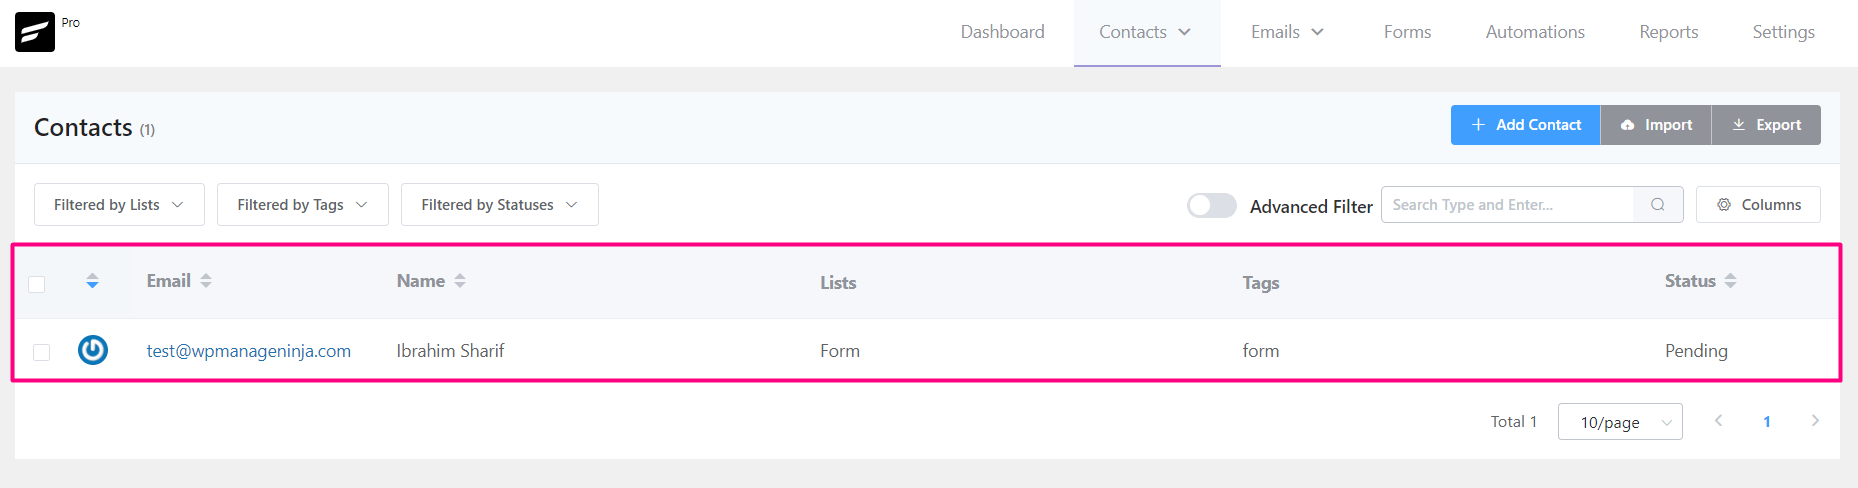
Since the entry shows a success message for the FluentCRM feed, let’s check the FluentCRM contacts to see if our test form submission successfully added the contact or not. Go to FluentCRM ➜ Contacts or the Contacts Dashboard and you should see the contact as shown in the below screenshot.
That’s all for the Subscription Form and collecting contact information into FluentCRM. To go beyond please check Fluent Forms Advanced Configuration for further and advanced configuration.


